
Xcode for Windows is the question asked by many developers. Many wonder whether it exists for windows or not. Xcode is a popular and powerful tool to have on your Windows device. If you are wondering whether it is available for Windows or not, you have come to the right place because, in this article, we will tell you everything you need to know about Xcode for windows and see if it is available on windows or not. All you need to do is to scroll below.
What is Xcode for Windows?
Before moving to how to get this tool on your Windows, you must know what Xcode is. Xcode is an Integrated Development Environment or IDE, which is designed and developed by Apple. With the help of this, you can develop for the Apple ecosystem. This means that you do not need a Mac to create applications, you can create applications for watchOS, tvOS, and macOS with the help of Xcode. This app is exclusive to iOS users because it is a sole MacOS application. Therefore, to get this app on your Windows, you need to find an indirect way to do so. In this article, we will tell you how to download Xcode for windows.
Requirements to Install Xcode for Windows 7/8/10 OS
These are the basic requirements to get Xcode on your Windows system. The requirements are as follows:
- First of all, you need a Mac OS X virtual machine on either VirtualBox or VMware.
- Then, you need an Apple ID with the help of which you can download Xcode for windows from your Apple store.
- Minimum 2 GB RAM. However, we recommend you have at least 4 GB RAM for smooth functioning.
- Dual-Core Intel Processor
- Hardware Virtualization
You need to buy an Apple Hardware with OS X and an app developer ID if you are a professional app developer. Xcode will help you test the app on your Apple Hardware on a real Apple device. Also, you need to make sure that you have a running Mac OS X virtual machine because you are installing Xcode using a Virtual Box. You can download a copy of an installed Virtual Box as well if you do not have it at your disposal.
Steps to Install Xcode on PC running Windows 10, 8/8.1 and 7
Installing Xcode on your Windows is not a difficult task. If you do not know how to do it, you have nothing to worry about because, in this article, we will give you a step by step guide on how to download and install the Xcode app on your Windows 10, 8 or 8.1 as well as the Windows 7 desktop or laptop for iOS SDK. The steps you need to follow are:
- The first step you need to follow is to get the VirtualBox or VMware on your Windows. To do so, you can click on the link given above.
- Once you have done that, you will now have to download and install a virtual machine as well.
- Once done, you need to create a virtual machine using the Oracle Virtual Box. To do so, you have to open the Virtual Box and once done, you have to click New.
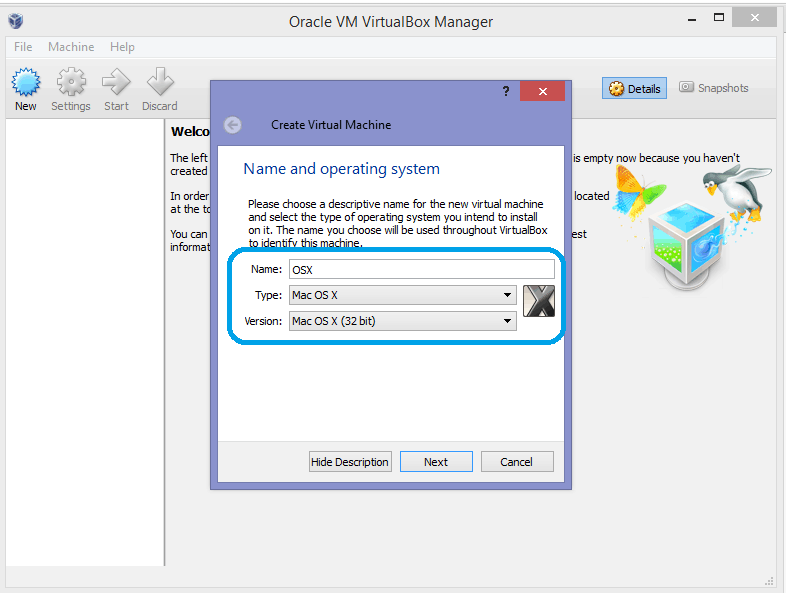
- You will now see a new window which will ask you the name of your operating system. You need to enter the name as OSX, top of the OS as Mac OS X. You will also have to enter the version, which will be asked, as Mac OS X (32 bit). Once done, you have to click next.
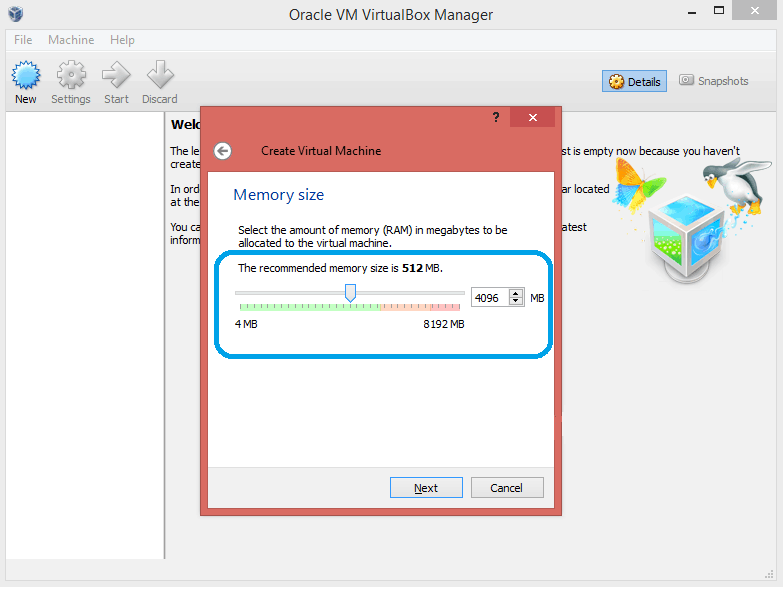
- Now you have to choose the RAM size of your virtual machine. Sufficient memory size is 1 GB with which Android will run on your Windows computer smoothly. Now click next.
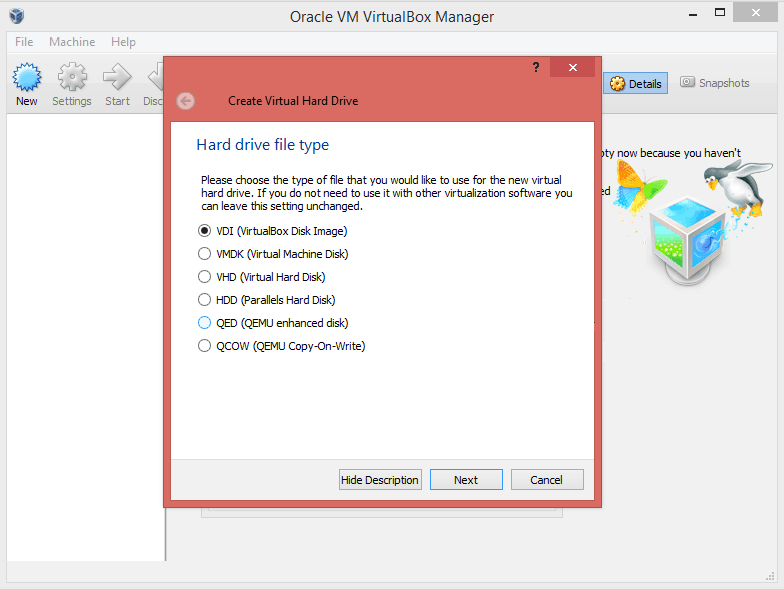
- Once done, you need to select the type of virtual hard drive.
- Select the hardware file as VirtualBox Disk Image or VDI. Now, click next.
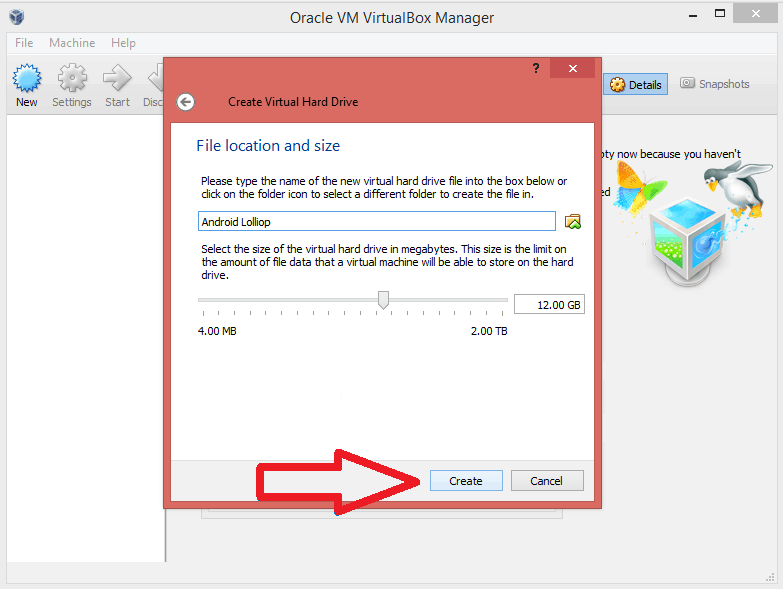
- Once done, you now need to select the physical hard drive as allocated dynamically. After you have selected the physical hard drive, you now have to allocate the location as well as the size of Android from the physical hard drive to your device. Once done, click create. You are now halfway there in the process of installing Xcode for Windows.
- With that, you have now created a virtual machine on your virtual box successfully. Now, you will have to mount the downloaded iso file. To do so, you need to visit the settings of your device and then go on to the storage. From there, you will see an option of Load ISO File, click on that. After that, click on start.
- Once done, you just need to follow the on-screen steps which will be mentioned and with that, the OSX will automatically be installed on the Oracle Virtual.
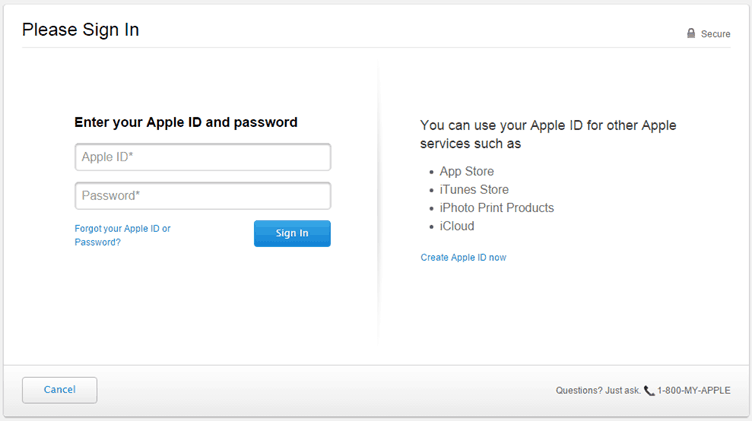
- Once you have done that, you need to open the Safari browser on your VirtualBox. After that, you need to Sign in to the App Store with your Apple ID. Enter the Apple ID and password as well.
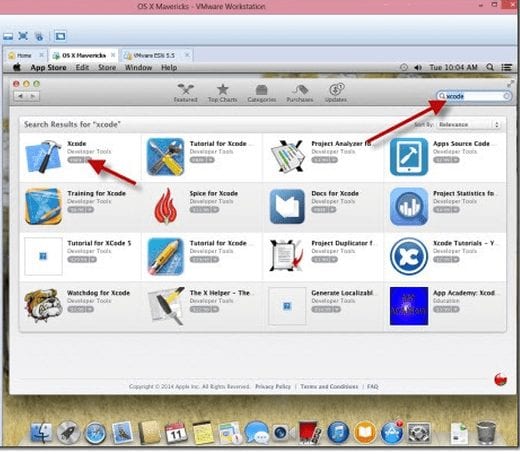
- Once you have signed in using the Apple ID, you need to open the search box and type Xcode, with which you will get the complete Xcode package. After that, you have to locate the Xcode from different apps and click on the option Free and Download. You need to select OK with which you will be able to download the kit.
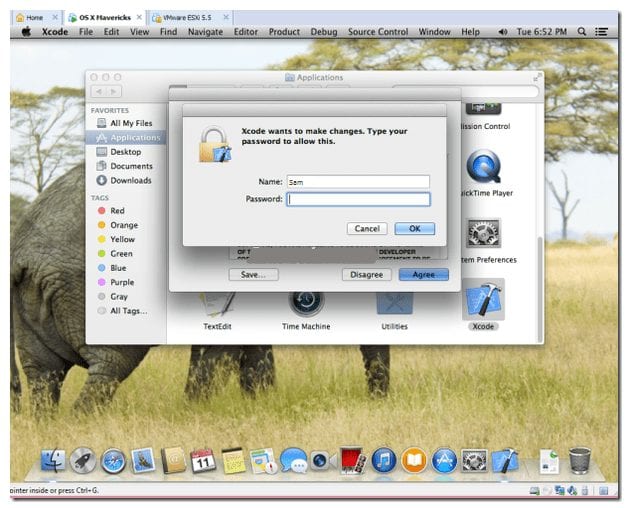
- Once you have completed your installation process, you need to open it from the applications. You now have to provide your root credential if you want to get the access privilege to install various Xcode components and to modify your system settings. You need to enter your name and password and click on OK.
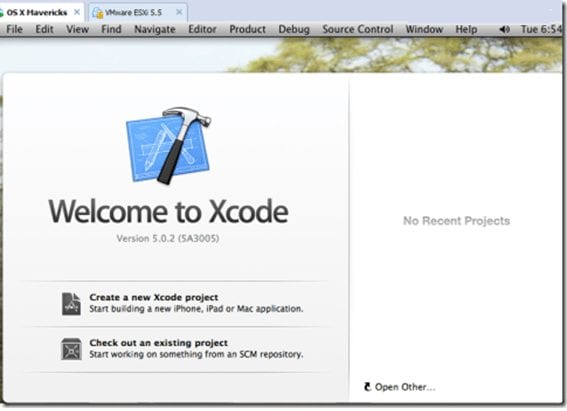
- Once done, your process of installing Xcode for Windows will be completed and you can now enjoy the services of Xcode on your windows.
Checkout: Slow motion camera apps

Final Words on Xcode for Windows
With that, you can download and install Xcode for Windows PC or Laptop. With this interface, you can now create more projects and better apps. However, because you will be running this software on your Windows, you will not have as smooth performance as it is on the macOS. Xcode’s speed will not be as high.